[ Epic Restoration ] In association with Machine Mart
Using creative techniques, the restoration of this Australian-built racing special deeply challenged its rebuild team every step of the way
Words STEWART PERRY Photography ROSS PERRY
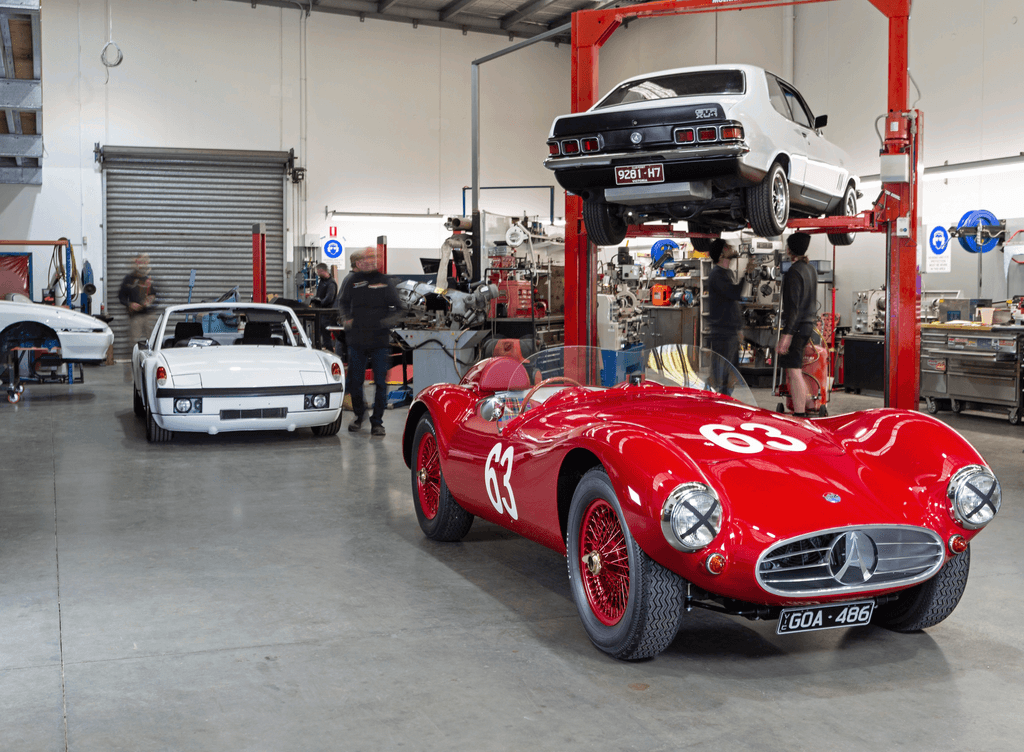
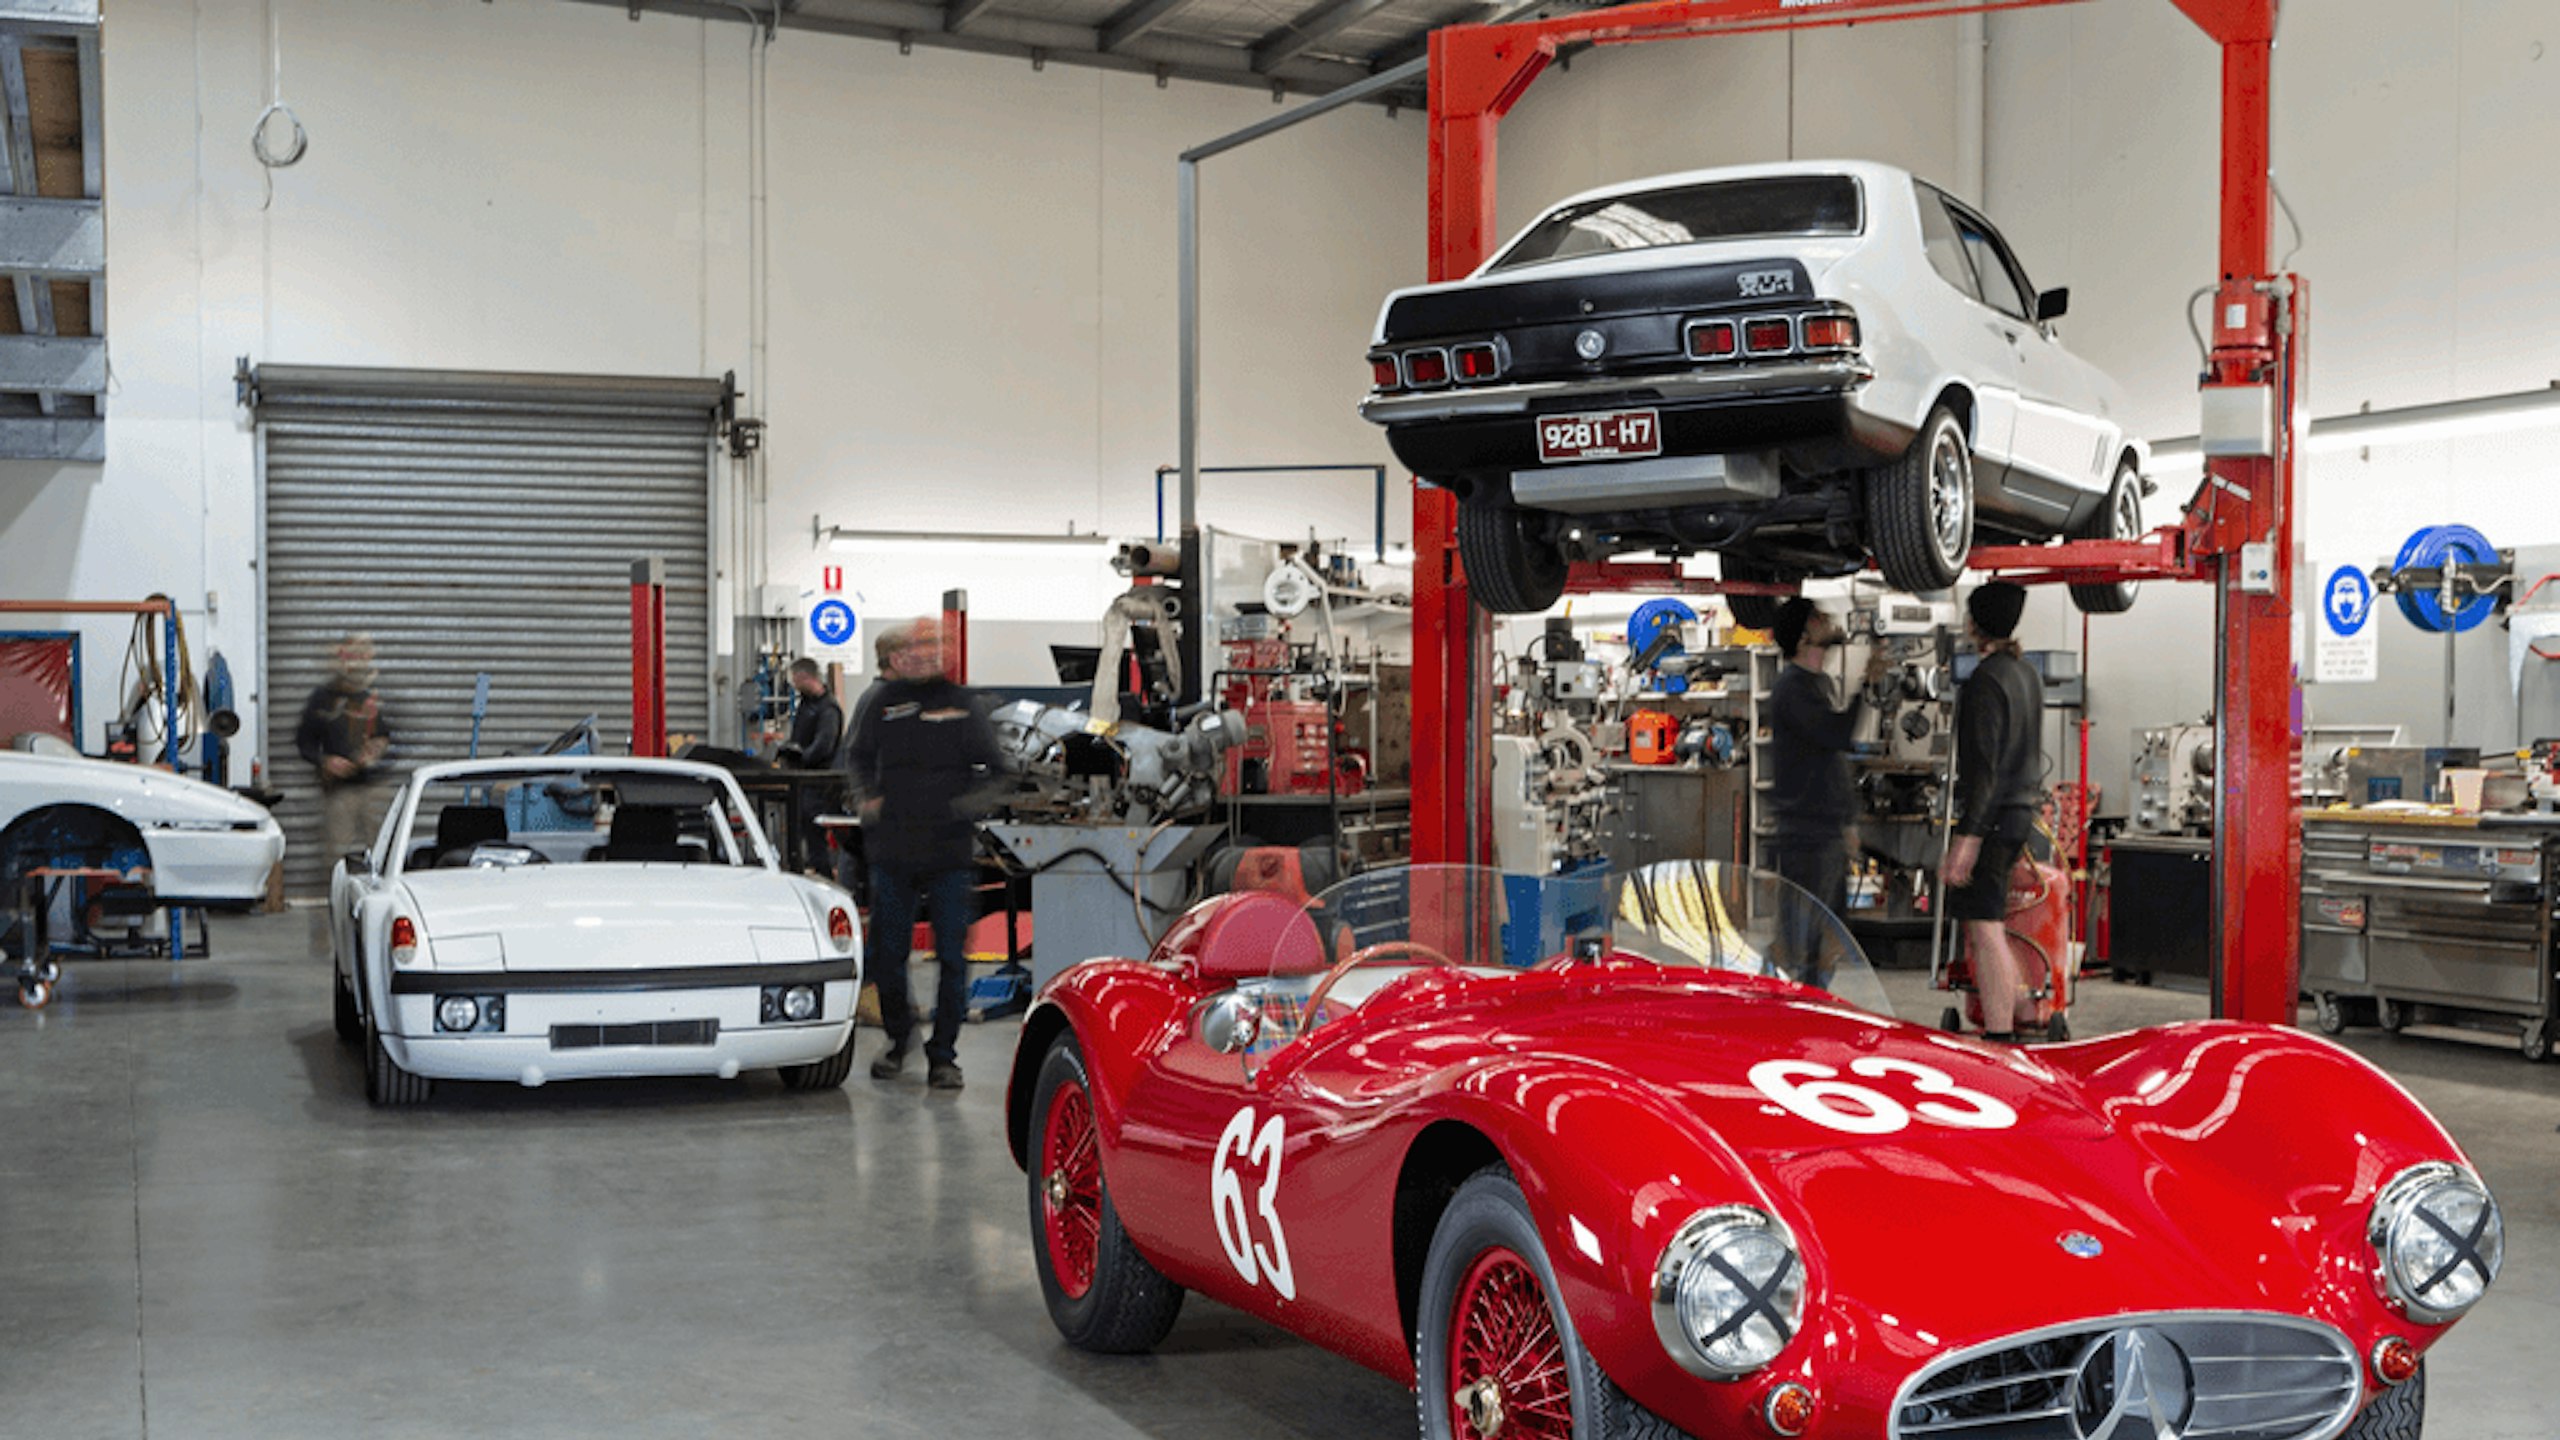
My first thought when Simon bought the car was, “What have you done?”’ recalls restorer Alan How. ‘We’ve worked with Simon before – he’s terrific – but I was worried about how bad this one would be once it landed with us. ‘Once we got our hands on the Ausca, it was the biggest proverbial pile of bolts we’d seen. Honestly, it was so rough it nearly shouldn’t have been repaired. Being a race car, it had a history of carnage: patched on a shoestring, thrown back on track, patched again. Panels were uneven, the firewall and floor were plywood – and frighteningly, the seats and belts were bolted through it – while the steel frame that was supposed to support the body was mostly rusted away. It was essentially held together with Zeus clips and screws.’
‘When I first took Alan to see the car, I think his heart sank a little,’ says owner Simon Purcell of this now-gleaming TR Ausca. ‘It was really in very rough shape. I spotted the car for sale and was immediately drawn to it,’ continues Simon. ‘I loved that it was Australian, based on the humble Triumph TR3, and steeped in racing history. I appreciated the shape and the story and the idea of a race car that could be driven at the track, then driven home as a proper sports car.
‘Alan and the Creative Custom Cars team have restored a couple of cars for me before – including my 2019 Motorclassica-winning Aston Martin DB2/4 MkIII – so I knew they were the right people for the job. They are great at seeking out what I as the owner want and like, as well as mixing it in with their own ideas and experience, putting the two together and coming out with something wonderful. I sent countless photos, magazine clippings and web links for inspiration. These went up on a vision board with their ideas.’
Rough assembly
The road ahead looked steep. ‘The first step was simply to get it roughly assembled and running so we could prove the package worked,’ Alan explains. ‘Mechanics Harley Ledo, Cade Southall and I got it going without too much trouble, but it was almost dangerous to drive. The suspension was so stiff the car was all over the road, while the body was floppy. Everyone in the team had a ride or a drive and made their own notes, which we compiled for reference during the restoration.
‘Next, we needed to make sure Simon could fit. He’s quite tall, and it became clear we’d have to move the pedals and redo the steering column, but it was possible for him to fit comfortably.’
Low point
‘Once we got our hands on the Ausca, it was the biggest proverbial pile of bolts we’d seen. Honestly, it was so rough it nearly shouldn’t have been repaired’
Alan How
Ausca origins
A bit of background – the Ausca was created in 1955 by Paul England, who worked at Repco Research and raced keenly. He produced a glassfibre body inspired by the Maserati A6GCS for a Holden-powered racer, then advertised it to other builders. He sold around 15 bodies; one of those ended up on this TR Ausca. ‘The car itself was constructed around 1960 using Triumph TR3 running gear, log-booked in 1962 and, from our digging, first raced in 1964,’ Alan explains. ‘It’s a home-build on top of a home-build – which is brilliant, because it gives us freedoms in the restoration while demanding respect for its origins.
‘We visited and photographed every Ausca we could find – one sits in a glass cabinet at the Longford Pub in Tasmania and a couple were still racing at Phillip Island and Winton. We talked to owners to learn what they liked and didn’t.
‘After a stripdown and research, the car moved over to Mark D’Alton for body and frame restoration. Mark isn’t just a talented bodyman; he’s our ideas man, too. He brings a concept, we bring ten, and together we tease out a combination that works – improving the car while keeping its heritage intact.’
Frame rescue
‘Back in the day, builders of Australian race cars chose glassfibre because they could make shapes you couldn’t do in alloy or steel,’ enthuses Mark. ‘A lot of people don’t want to touch glassfibre. I used to build show cars and prototypes for Holden and Ford from the stuff, so I’ve got a fair idea what I’m doing.’
‘When the car came in, it was all over the place and the more that came apart, the worse it got. The construction used the original Triumph TR3 chassis, with a half-inch rolled hollow-section steel frame built on top to support the glassfibre body. The idea was fine, but the execution wasn’t. The frame never really fitted the body. Wherever the frame happened to touch, they drilled and added a screw or Zeus clip – uneven, asymmetrical, and leaving large sections unsupported. The timber firewall wasn’t even connected to anything.
 Mark reconstructs the rear section of the steel frame
‘The body had flaws in some of the shapes and symmetry from side to side, which is normal on a handbuilt body from the Sixties. I could have sliced the body into pieces and reassembled it to make it perfect, but that wasn’t in the spirit of the project.
‘A big part of restoration isn’t just the hands-on work, but the mental process of figuring out what can stay, what can’t, and how to keep the car’s history intact. Painter Dale Osborne and I spent hours with the team brainstorming and discussing what compromises we could make to preserve the car’s originality but make it as good as it could be. We didn’t cut the body up to make it perfect; we went ahead and made it as good as it could be while retaining as much original glassfibre as possible.
 Mark sizing up Simon in the Ausca cockpit
‘When I properly inspected the steel frame, very little was salvageable – wrong shape, oxy welded and brazed together, and unpainted inside, so rust had eaten through it. The rear section of the body had been glassfibred permanently onto the frame, so we had to cut it free. The chassis was badly damaged from old accidents and holes punched through it for exhausts and cables.’
Mark had plenty to be getting on with. ‘The first job was repairing the chassis, then remaking the steel frame so it correctly supported the body. I used a laser level to set the wing heights and ensure the body would sit square. The new frame needed to be a solid foundation, holding everything in its proper position. I connected the new aluminium firewall properly to the front and rear, added side impact bars and proper seatbelt mounts – all tied into solid steel, not timber like before.
 New aluminum firewall under construction
Body repairs
‘With the frame sorted, I turned to the glassfibre repairs. The original workmanship wasn’t bad, but years of racing and rough fixes had taken their toll. When repairing glassfibre, the choice of resin is critical. I called on a friend from my prototyping days – Daniel Young of Daniel Young Composites – a real expert in resins. With his help, I chose a strong, aggressive resin perfect for bonding to old fibreglass. It’s difficult to sand but once cured it’s rock solid.
‘Repairs fell into two groups – large structural and smaller cosmetic fixes. I started with the big stuff. Whenever I was reshaping a section, I’d get Dale involved – he’s got a great eye for design – and we worked to get the proportions right.
 Out in daylight for bodywork assessment
‘Years of debris and stones had chewed up the panels, the edges were ragged, and no two wheelarches matched. There was old accident damage and an ugly fuel filler that had to go. Every edge of the body needed rebuilding. The trick is to cut back to sound glassfibre before laying new glass. Once I had a clean surface, I used whatever I could – cardboard, plywood, tape – to create forms to help lay up new sections.
‘The wheelarches were the hardest. None were the same, and the edges were all damaged. I made templates, found each wheelarch centre – not necessarily the axle centre – and drew new radii. We experimented with a few shapes and checked full lock and suspension compression for clearance. As a team, we picked the shape that looked right, and I rebuilt them to match. We also added proper mounting bosses for the parking lights – the car had previously worn trailer lights screwed to the front.
 Completed glassfibre fairing completes road racer look
‘Once the major repairs were done, I focused on preparing the body for paint. Every flaw – cracks, air bubbles in the gel coat, or impact damage – had to go. I removed much of the old gel coat. Each damaged spot was cut back to solid glass, layered with new glassfibre matting, and glued in with the LSE low styrene resin. Once dry, the repairs looked like little volcanoes of glass with high edges and a hole in the middle. I sanded them level, leaving a shallow recess for a final layer of tissue glassfibre to bring the surface back to perfection.
‘The bonnet was more of a challenge. It was too flat, which ruined the car’s lines, and had two unsightly bulges added to clear the engine and SU carburettors. Simon was adamant – it had to go. He wanted a beautifully curved bonnet with no bulges. Every shape I tried looked good – until it hit the engine. In the end, we decided to lower the engine by an inch and a half, which ended up being a huge job, but allowed the clean lines we wanted. Then I laid up a brand-new glassfibre bonnet from scratch.
‘With all the repairs complete, I chose not to add a traditional gel coat. Instead, I laid two full layers of ultra-thin tissue glassfibre over the entire body. This prevents the glassfibre “printing through” the paint.’
 Fairing shape created from polystyrene
Paint process
‘The Ausca rebuild was a challenging project,’ explains Dale Osborne. ‘Making it look its best while preserving the original Fifties glassfibre was no small task. I started with the body once the tissue glassfibre layer was in place, treating it with Clausen All-U-Need High Build Polyester Primer, Surfacer, and Sealer. Once cured, I applied filler where needed and began sanding, aiming to preserve the Ausca’s smooth, rounded shape. I used lots of splines – flexible rubbing blocks made from flat black plastic of various shapes and sizes – during the filling process. They are great for removing excess filler in a controlled way and once it has cured I install sandpaper to them, and they let me rub it back accurately to achieve the correct contours. Throughout, I relied on large profile gauges to ensure the body remained symmetrical from side to side.
 Ready for paint! Into Dale’s booth to receive a new shade
‘My other go-to sanding tool is linear blocks with the circular sections on the back, only used for sanding. They also vary in flexibility, and are easy to grip so I can apply pressure in exactly the right way to get the result I want. On a challenging car like the Ausca, which progresses from convex to concave shapes very quickly, very flexible and controllable blocks were essential. In one case, none of my blocks would allow me to sand in the tight space around the headlights so Mark picked up a piece of plastic from the floor and cut it to the perfect size, it was ideal.
‘After completing the filler work, I sealed the repairs with another coat of All-U-Need, followed by Glasurit high-build primer, then sanded the body smooth, ready for topcoat. I paid special attention to the underside, wheelarches, and internal areas – even where they wouldn’t be seen. I sanded the back of each wheel arch lip flat and applied some stone guard underneath to prevent damage from road debris.
‘Simon entrusted me to pick the colour, which was humbling. Together with the team, I chose Pulse Red from a late-model Holden Monaro CV8 – a subdued colour with significant black content that complements the Ausca perfectly without being flashy. Finally, I applied the Glasurit two-pack base colour and finished with Glasurit clear coat, bringing the restored Ausca to life while respecting its original Sixties character.
 Modern Holden Pulse Red chosen for its subtlety
High point
‘When Simon and his Anna wife walked into our workshop and saw the Ausca in its colour for the first time. Seeing the look on their faces, it was just such a wonderful feeling’
Dale Osborne
Mechanical refurbishment
‘Lowering the engine to remove the two bulges – one for the SU carburettors and one for the front of the rocker cover – created a huge amount of work,’ explains Harley Ledo, who worked on the Ausca as part of a small team of mechanics. ‘When you change one thing, you often have to change ten others! We started by shortening the sump and remaking the oil pickup to get the engine as low as possible, but the rocker cover still touched the bonnet. Next, we tilted the engine forward by two degrees. Tilting the front down raised the rear, requiring changes to the gearbox mount and shifter. A greater tilt wasn’t possible; the tailshaft clearance at the X-brace was tight, but it was enough to clear Mark’s new bonnet.
‘We then fabricated the radiator and cooling fans to fit into the smaller space. Replacing the SU carburettors with Webers was a big undertaking. We began by mocking up everything in the engine bay – including the generator and all of the accessories – and we fabricated the inlet and exhaust manifolds from scratch, starting with laser-cut flanges and building from there to ensure clearance while keeping a period-correct appearance.
‘Compression, leak-down tests, and a borescope check showed the engine was healthy, so we didn’t pull it down all the way. We just fitted new gaskets to it. When we first started it in the car, a severe oil leak from the front crankshaft seal appeared because of the two-degree forward tilt. We were lucky we were able to avoid pulling the engine from the car by stripping the front of it in situ, installing a custom-fitted oil slinger to redirect oil flow away from the back of the seal, curing the leak.
 Spare wheel and 80-litre fuel tank neatly sit behind rear bulkhead
‘To make the car user-friendly, we incorporated a heater and fabricated a new aluminium fuel tank to fit around the spare wheel, increasing capacity from 30 to 60 litres. The electric overdrive helps keep revs down at highway speeds. The car always drove roughly, so we installed new suspension bushings while retaining the period-modified control arms. Springs were reset and shocks re-valved to near-factory softness, transforming the ride and handling. We rebuilt the gearbox, overdrive, and differential with new bearings and synchronisers, checked lash, and reused much of the original braking system, remaking only the corroded brake lines and perished flexible hoses.
‘Tuning the engine has been challenging – high compression and an aggressive camshaft make getting good drivability tough. We’ve jetted the Webers down because they were running too rich and adjusted the timing settings which has improved idle, low speed and mid-range performance.’
 Alan How (right) explains to Stewart how many modifications were required to lower the engine for bonnet clearance
Interior and finishing
‘When we got the car, it had an awful SASS steering wheel from either the Eighties or Nineties, a timber dash cluttered with random gauges and switches, and asymmetrical seats,’ Alan recalls. ‘We looked to a Maserati book for inspiration, creating a custom instrument binnacle, retaining the best of the original gauges. We relocated the steering column and added an indicator stalk, along with a cotton-covered wiring loom, using as many Australian and Triumph period parts as possible.
‘Sourcing the right steering wheel was a challenge. We finally found one in Italy with a black centre line that complemented the gauges. It clicked – the embossing on the wheel matched the C-pillar trim for colour and texture that we had leftover from Simon’s Aston restoration. It was perfect for the dash panel.
 Newly created grille finishes off Ausca’s front end
‘Inspiration for the seat fabric came from a Fifties photo of a Mercedes mechanic inside a race car at Le Mans. Working with Simon’s wife Anna, we selected the exact same fabric used in the car. The original seats were salvaged and adjusted, and the plaid fabric ties in with the bodywork and the Ausca badge, completing the Sixties road-racer aesthetic.
‘Sitting in the original seats, Simon appeared perched on top, so we lowered them as far as possible and put very thin base cushions in. We created the head fairing to help it look like he was sitting in the car, not on top of it. Initially we positioned a simple polyurethane cut-out behind him, then Mark laid glassfibre over it to create the final form. The result is an interior that feels period-correct, functional, and perfectly tailored to the driver, balancing historical authenticity with comfort and style.’
 Fortunate Italian steering wheel find complements Ausca gauges perfectly
Reflections
Simon couldn’t be happier with his stunningly resurrected rarity. ‘Being involved and watching the project unfold was a huge part of the enjoyment; they did a fantastic job, including me every step of the way.’
Alan adds, ‘As the project drew to a close, I reflected on how hard it was to keep things simple. There were so many times where less was more. I think that shows in the fantastic car it has become. I recently accompanied Simon to the 2025 Noosa Concours d’Elegance to show the car. After the event, we took a drive in the rainforest hills around Noosa in Queensland, and it was unreal. Sitting in this car, cruising through the hills – it was one of those drives I won’t forget for a while. The car truly had completed its transition to Sixties racer meets wonderful sports car.’
 Alan explains to Stewart how the best of the existing instruments were kept
MY FAVOURITE TOOL
Spline and linear blocks

‘These two particular types of sanding blocks have been around for about the last ten years,’ says Dale Osborne. ‘They have really moved the painting trade forward in terms of the quality of work that is possible. I love the confidence they give me to be able to be sure I am rubbing the high spots and leaving the lows alone.’
Epic Restoration of the Year

This Ausca is one of 12 Epic Restorations you’ll be able to vote for in 2026, with the chance to win fabulous prizes of premium workshop gear from Machine Mart, including this *Clarke CTC700C tool cabinet, with full steel construction, and side handle and 4in castor wheels for manouverability. classiccarsmagazine.co.uk/EpicRestoOfTheYear. T&Cs apply.

*Prizes subject to change. They will be confirmed by the May 2026 issue.
Subscribe to Classic Cars today. Choose a Print+ Subscription and you'll get instant digital access and so much more. PLUS FREE UK delivery.